Dify self-hosting
Dify is an open-source platform for developing LLM applications. Its intuitive interface combines agentic AI workflows, RAG pipelines, agent capabilities, model management, observability features, and more—allowing you to quickly move from prototype to production. (Reference) In this guide, we’ll walk you through setting up Dify with Relyt ONE (All In One Serverless PostgreSQL) to build a knowledge base Q&A workflow.Quick start
The easiest way to get Dify up and running is through Docker Compose. Before we dive in, make sure you have Docker and Docker Compose installed on your machine.Clone Dify
You can visit the GitHub repository (https://github.com/langgenius/dify) to clone it manually, or simply run the following command:Prepare Docker Compose
Head to https://www.docker.com/ to download Docker Desktop. Make sure to select the correct version for your system. Run this command to verify Docker is properly installed:Get a Relyt ONE Serverless PostgreSQL
Relyt ONE provides free PostgreSQL service. Visit our website (https://data.cloud/relytone) to get started for free.Create a Project
Once you’re logged in, create a new project on the Projects page. (Reference)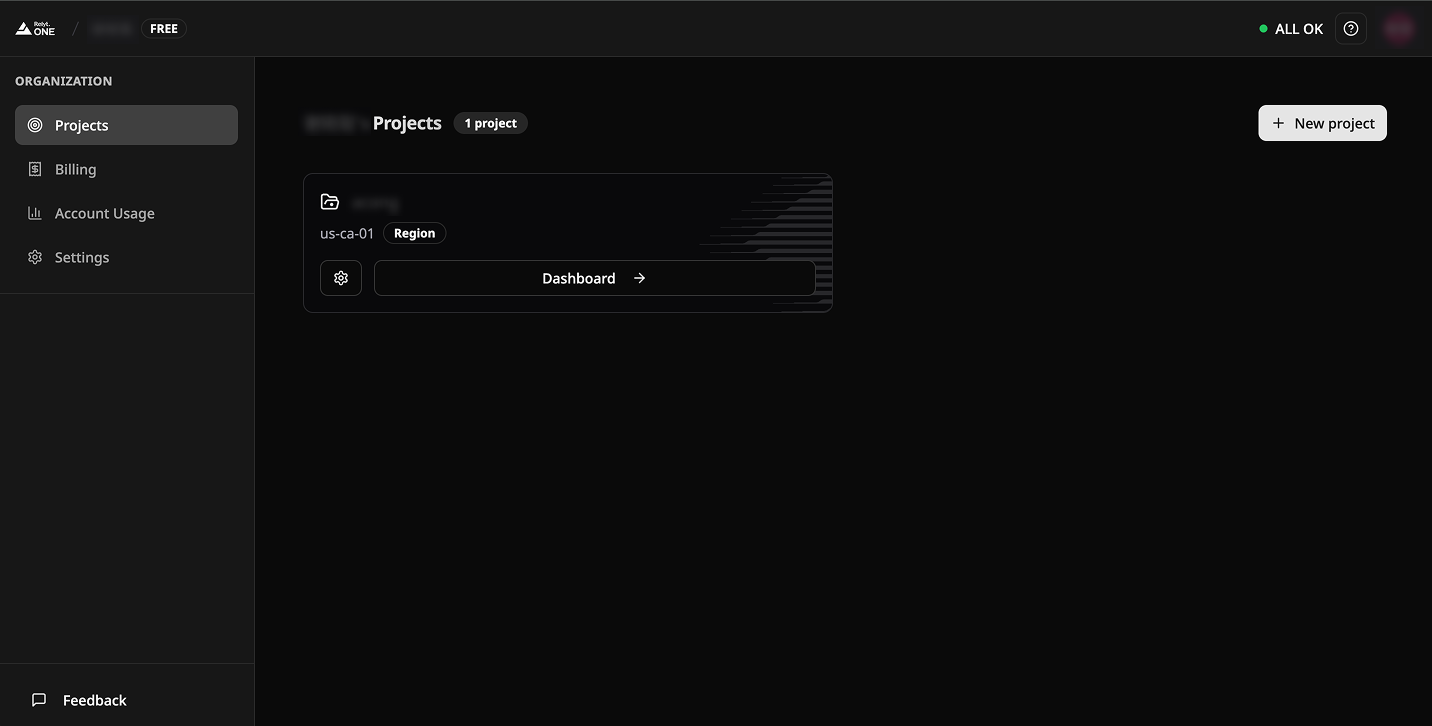
Check Project Connect Info
Once you’re in the project, click the ‘Connect’ button to open the Connect dialog, then switch to the ‘GUI Client Application Tab’ to view your connection details. You’ll see information like host, port, database, and user. (Reference)
Configure DB connect parameters in Dify
Head to your Dify project’s root directory and find the ‘docker’ folder. Inside, rename ‘.env.example’ to ‘.env’ and open it. Jump to the ‘Vector Database Configuration’ section, then select ‘pgvecto-rs configurations’ to set up your parameters.Create Knowledge on Dify
Visit Dify at http://localhost/install, navigate to the Knowledge Tab in the header, and click the ‘Create Knowledge’ button.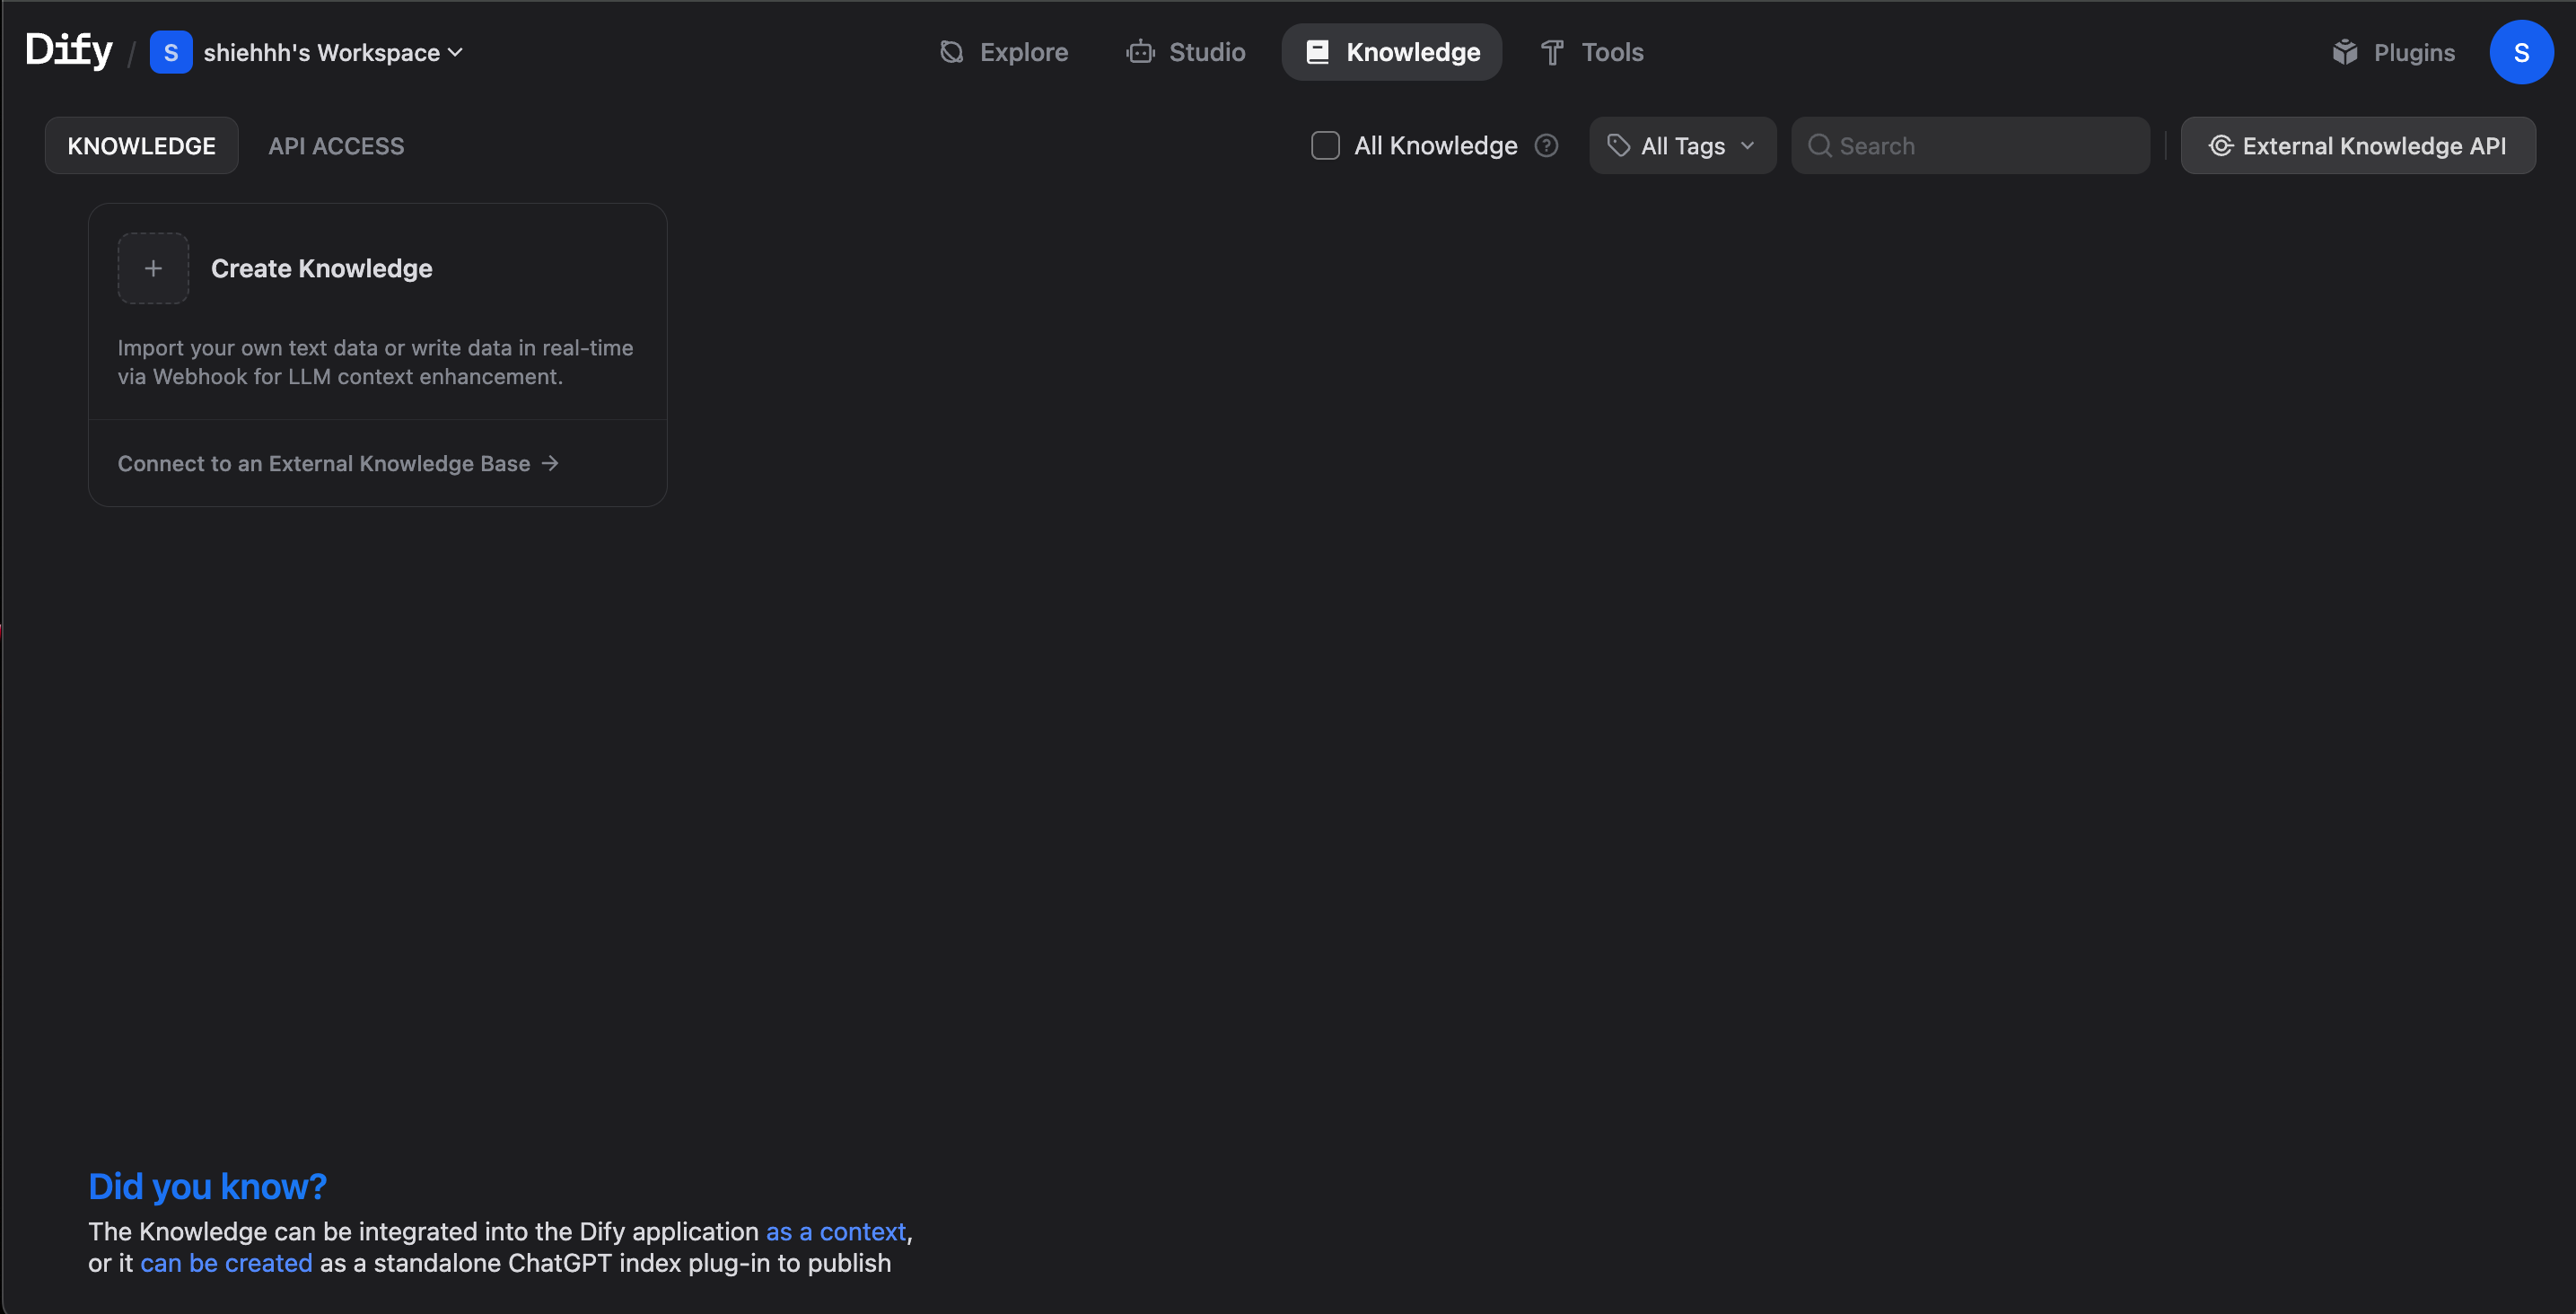

Verify DB connection
Follow the guided steps to create your knowledge base. Once it’s created, you can verify everything worked by checking your database schema—you should see the knowledge records appear in the table.
Create Knowledge Base Workflow
Create workflow
Head back to Dify’s Studio Tab and click ‘Create App’ to start building your workflow:- Create App
- Select ‘Create from Blank’
- Choose an App Type
- Select ‘Chatflow’ type


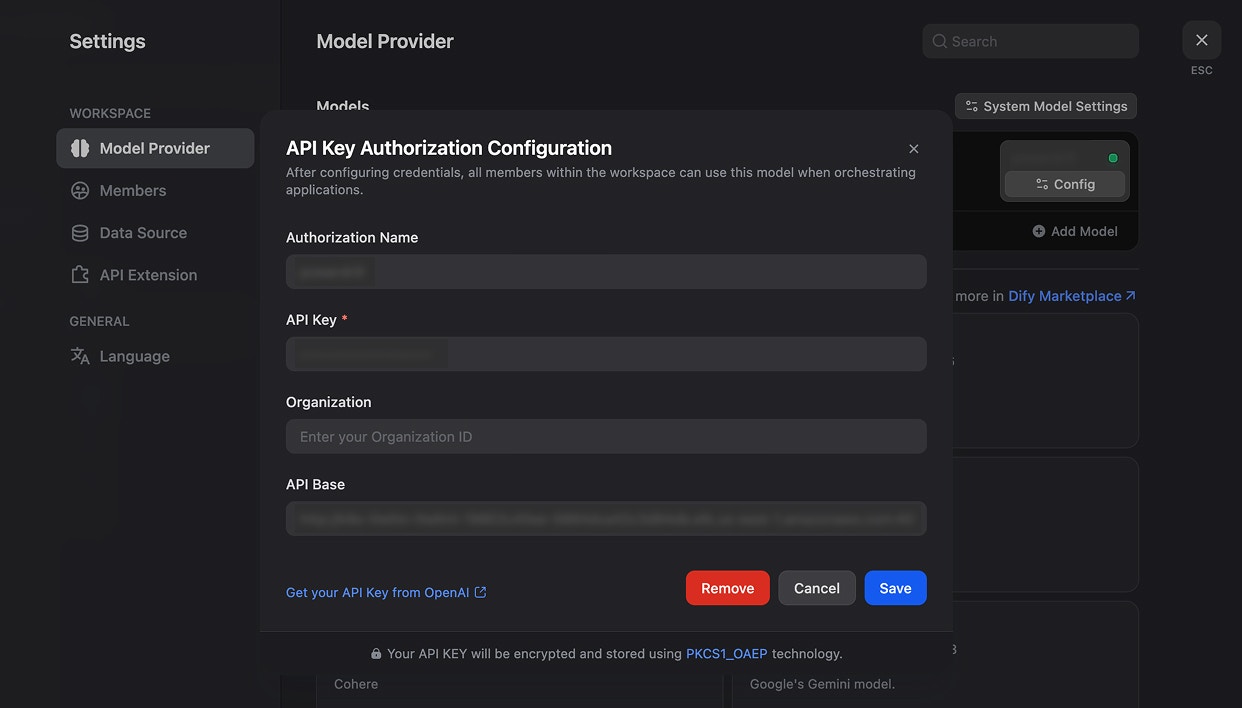
LLM Provider API Key Configuration
Next up is the LLM node. First, you need to configure the LLM provider API key. Follow this path:

Finish and Run
Once you complete all the setup steps above, you can test your workflow. Congratulations—your knowledge base Q&A system is now ready to go!About Relyt ONE
Relyt ONE is a Serverless PostgreSQL database, providing built-in high performance extensions for vectors, full-text search and analytics (pg_duckdb). We believe in technological equality and inclusive support for all developers. All features and services are included in the free plan. We welcome you to give it a thorough try!